Understanding Drywall Painting Basics
Drywall painting is an essential skill for homeowners and contractors alike, transforming bare drywall into a beautifully finished surface. This process involves more than just slapping paint onto walls; it requires a proper understanding of techniques and preparation to achieve the desired results. In this comprehensive guide, we will explore all aspects of drywall painting, from the fundamentals of preparing the surface to techniques that lead to professional-quality finishes.
What is Drywall Painting?
Drywall painting is the application of paint to drywalls, which are made from gypsum plaster pressed between two thick sheets of paper. This task is often performed during home renovations or new construction, where painted walls significantly enhance a property’s aesthetic appeal. The process typically begins with preparation, moving to priming, and finally applying multiple coats of paint for an even finish.
The Importance of Proper Preparation
Preparation is crucial in drywall painting. Skipping this step can lead to unsightly imperfections like peeling or uneven surfaces. Proper preparation involves several tasks:
- Cleaning: Walls should be free of dust and debris.
- Sanding: Rough spots and joints may require sanding for a smooth finish.
- Repairing: Fill in any holes or dents for a complete surface.
Common Tools and Materials Needed
Several tools and materials streamline the drywall painting process:
- PVA Primer
- High-quality paint (latex or acrylic)
- Sandpaper or sanding sponge
- Rollers and brushes
- Drop cloths and painter’s tape
- Putty knife for repairs
- Vacuum for cleanup
Preparing Your Drywall for Painting
Inspecting and Repairing Any Damage
Before applying paint, it’s imperative to inspect your drywall for imperfections. Look for cracks, holes, or dents. Use a putty knife and high-quality joint compound to fill these areas. Once the compound dries, sand it smooth so that it’s flush with the surrounding surface. This preemptive step allows for an even paint application, enhancing the final look of your painted walls.
The Role of Primer in Drywall Painting
Primer serves as a preparatory coat that improves paint adhesion, ensures a uniform color and helps to seal the surface of the drywall. Without primer, the paint may absorb unevenly, leading to patchiness and varying textures. Use a PVA (polyvinyl acetate) primer for new drywall, as this type is specifically designed to prepare the surface effectively.
Choosing the Right Sanding Technique
After repairing and priming, sanding is required for a seamless finish. This can be achieved using:
- Hand Sanding: For precision, employing a sanding sponge or block allows you to finely tune rough spots.
- Power Sanding: For larger areas, an electric sander can expedite the process, but be cautious to avoid gouges.
Choosing the Right Paint for Your Project
Different Types of Paint Suitable for Drywall
Selecting the appropriate paint type is critical for durability and finish. Generally, latex paint is recommended for interior drywall because it is water-based, easy to clean, and quick-drying. Key paint types include:
- Acrylic Paint: Offers excellent adhesion and vibrant colors.
- Latex Paint: Popular for its balance of affordability and quality.
- Alkyd Paint: Although solvent-based and commonly used for trim, it can sometimes be applied to drywall for added durability.
Factors to Consider in Color Selection
Choosing a paint color can significantly influence a room’s ambiance. Consider these factors:
- Room Size: Lighter colors can make smaller spaces feel larger.
- Natural Light: Rooms with more daylight can handle richer colors.
- Purpose of the Room: Calmer colors may work best in bedrooms, while vibrant colors can energize living spaces.
Understanding Finishes: Matte, Eggshell, and Glossy
The finish of paint not only impacts the look but also its durability and washability. Here’s a breakdown of common finishes:
- Matte: Flat finish typically used for ceilings; hides imperfections well but is harder to clean.
- Eggshell: Slightly more durable, with a soft sheen, making it suitable for living areas.
- Glossy: Highly reflective and easy to clean, ideal for high-traffic areas like kitchens and hallways.
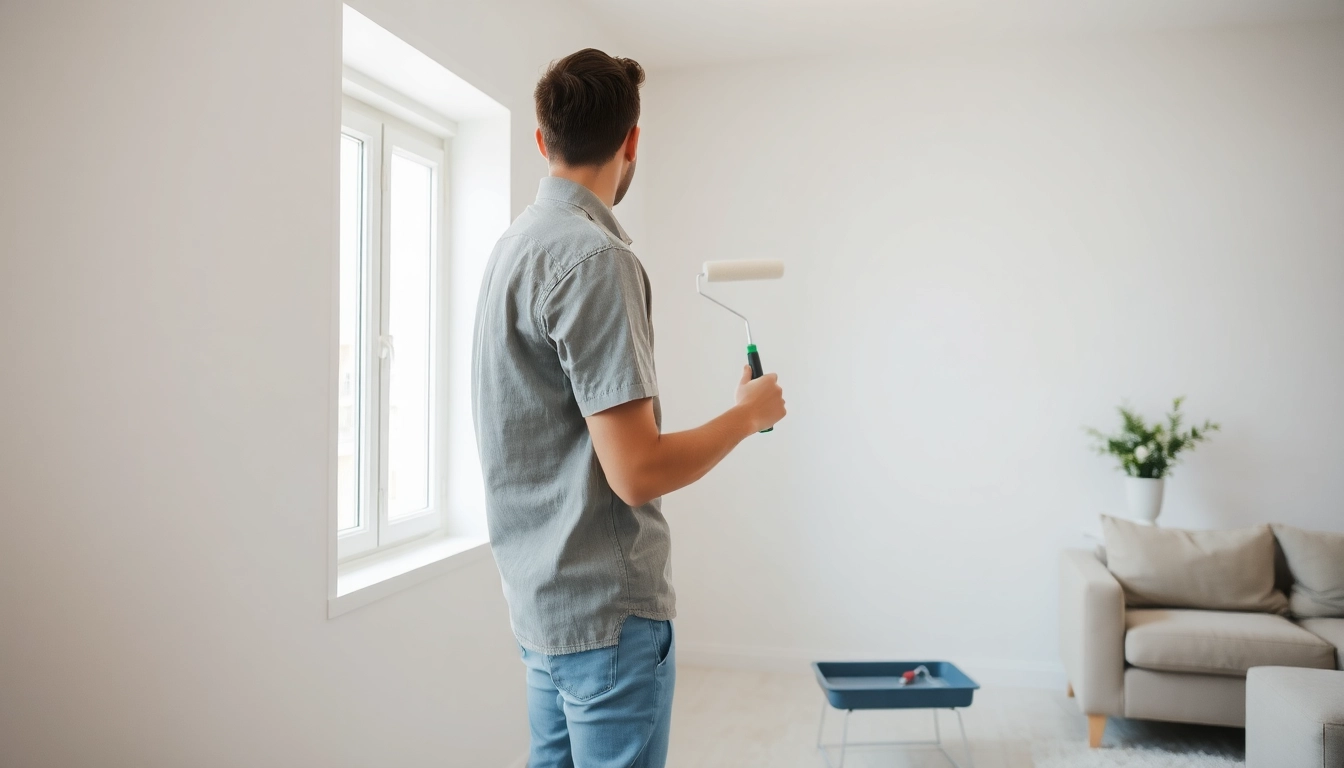
Step-by-Step Guide to Painting Drywall
Applying Primer and First Coats
Once the surface is prepped, and you’ve chosen your paint, it’s time to apply the primer. Follow these steps:
- Using a roller, apply an even coat of PVA primer across the wall. Use a brush for edges and corners.
- Allow the primer to dry completely, as indicated by the manufacturer’s instructions.
- Apply the first coat of paint, using the same technique. Remember to work in small sections for better control.
Techniques for Rolling and Brushing Paint
The technique you use for painting can drastically affect the finish. Here are some tips:
- Rolling: Use a roller for broad areas. Start at the corner of the wall, applying paint in a ‘W’ pattern for even coverage.
- Brushing: A brush is ideal for edges and intricate areas. Feather the brush out as you go to avoid streaks.
- Multiple Coats: After your first coat dries, lightly sand—if necessary—before applying a second coat for enhanced depth and durability.
Final Touches and Clean-up
Once the final paint coat is applied and dried, it’s time to add finishing touches and clean up:
- Inspect for areas that may need touch-ups.
- Remove painter’s tape carefully to avoid pulling off paint.
- Clean brushes, rollers, and any spills promptly.
Common Challenges in Drywall Painting
Addressing Peeling Paint Issues
If you encounter peeling paint, it’s typically due to poor adhesion or moisture issues. Solutions include:
- Scraping off loose paint, sanding the edges smooth, and applying primer before repainting.
- Investigating potential moisture sources and addressing them before repainting.
How to Fix Streaks and Blotches
Streaks and blotches can ruin the appearance of freshly painted drywall. To rectify this:
- Ensure that you’re using quality paint and applying the correct number of coats.
- Use a consistent technique while rolling or brushing. Attempt to maintain a ‘wet edge’ during application.
Maintaining Your Painted Drywall Over Time
Maintaining the look of painted drywall involves regular cleaning and touch-ups. Adhere to these recommendations:
- Wipe walls with a damp cloth periodically to remove dust.
- For scuffs and stains, use a gentle cleaning solution.
- Consider repainting every 5-7 years, depending on wear and tear.